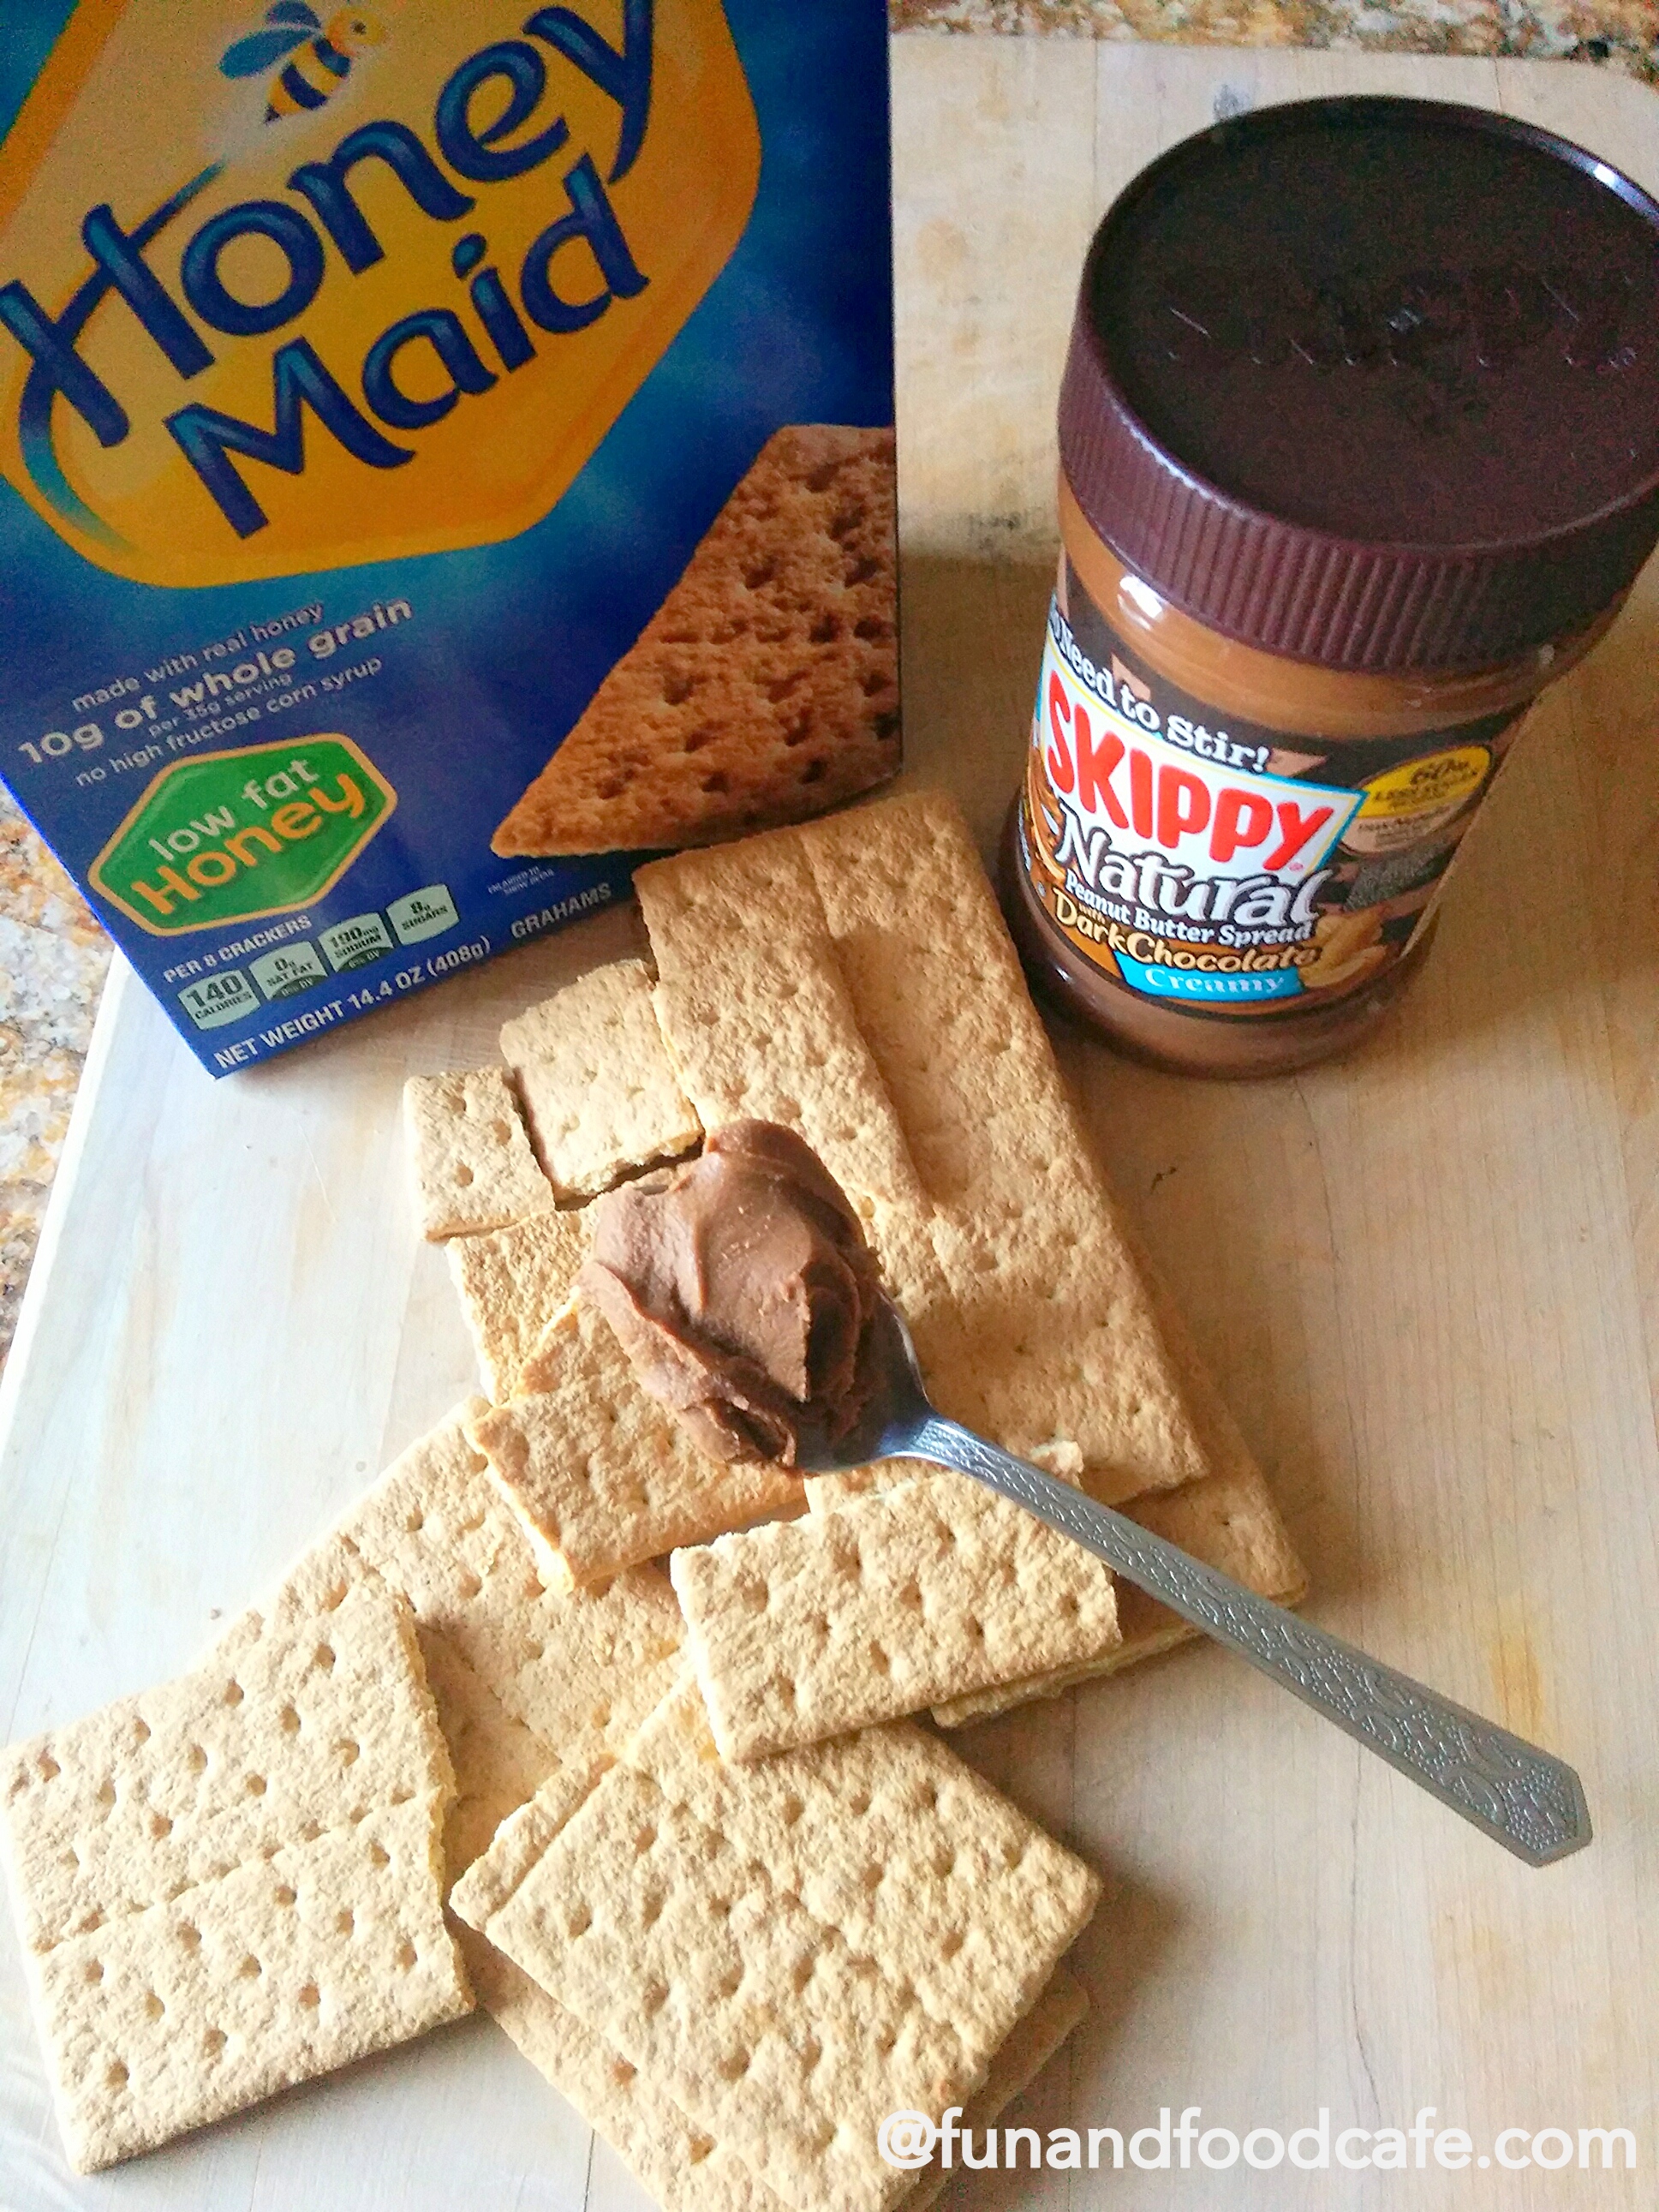
Last week it was Thanksgiving, and it was a time for the whole family to spend a lovely time together, relaxing, playing, cooking, laughing and rekindling the bonds that a normal 5-days-a-week work+school life does not allow! We did tons of baking and cooking, and when it was pouring outdoors, we played with Legos for some time, and then the kids got bored with making brick structures. I thought this was the perfect opportunity to let their creativity take on a new meaning by building delicious Graham Cracker Houses!! They were totally excited about this, and it was a great time to bring out the box of HoneyMaid grahams and our family-favorite Skippy’s Chocolate Peanut Butter.
I baked a delicious treat while the kids worked on the Graham Cracker House. So let me tell you how my experiment went first, before we start getting into the edible houses:)

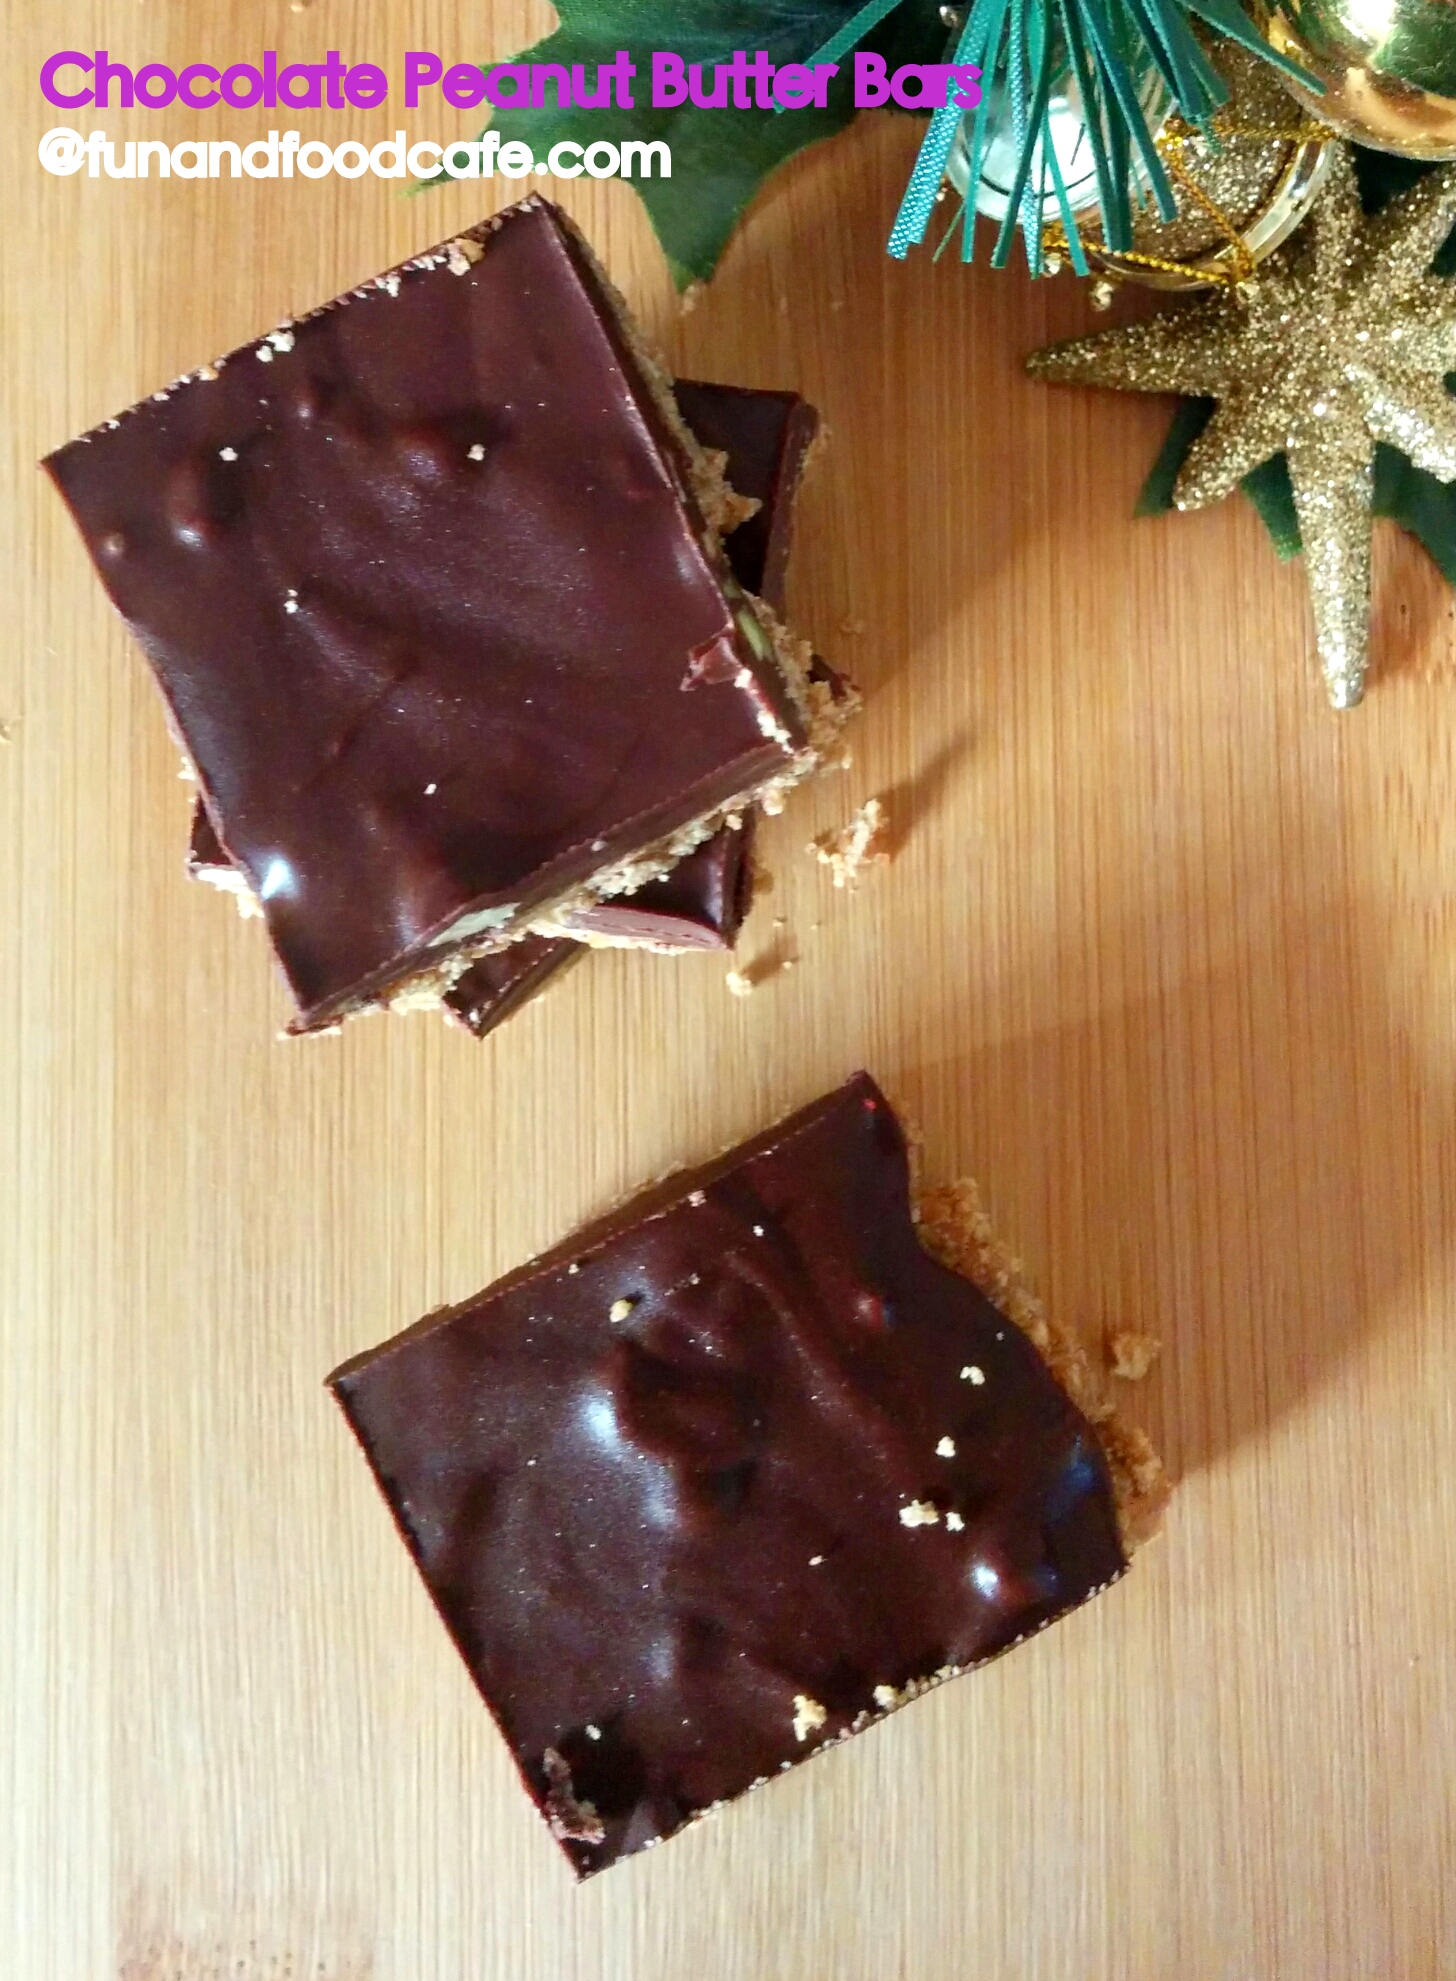
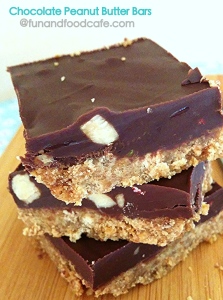
These No-Bake Chocolate Peanut Butter bars are a breeze to make. Just grind some graham crackers, mix in some melted butter and spread it on a parchment-lined cake pan. Then melt some chocolate peanut butter and some more chocolate chips in another bowl, and spread it evenly over the graham cracker crust. If you are in the mood for something fancy, feel free to scatter some marshmallows, crushed peppermint candy, maybe some nuts or anything else that spreads Holiday cheer for you. Then just let it freeze for a couple hours. Then cut into square bars and enjoy with your family as they work hard on building their dream houses:)
- 10 graham crackers
- 1 tbsp melted butter
- 1 cup chocolate peanut butter
- 2 tbsp semi-sweet chocolate chips
- nuts, marshmallows or candies (optional)
- Grind the graham crackers, to a fine powder.
- Mix in the melted butter and spread it evenly on a parchment-lined cake pan to make the crust.
- Melt the chocolate peanut butter and some more chocolate chips in another bowl, and spread it evenly over the graham cracker crust.
- Feel free to scatter some marshmallows, crushed peppermint candy, nuts or anything else that spreads Holiday cheer for you.
- Set in the freezer for a couple hours.
- Before serving, cut into bars using a serrated knife.
Graham Cracker Tutorial
For the graham cracker houses, you’ll need 6 full-sized crackers. Take two of your crackers and trim off a little less than 1/4 from each sides forming a triangular peak, this will make the sides of the house.
Use a serrated knife and light pressure. Arrange the base cracker, then line up the edges with royal icing through a piping bag. Then assemble the walls, the side walls, and finally the two pieces that form the roof. It might feel clumsy at first, but don’t worry, you’ll get the hang of it soon.
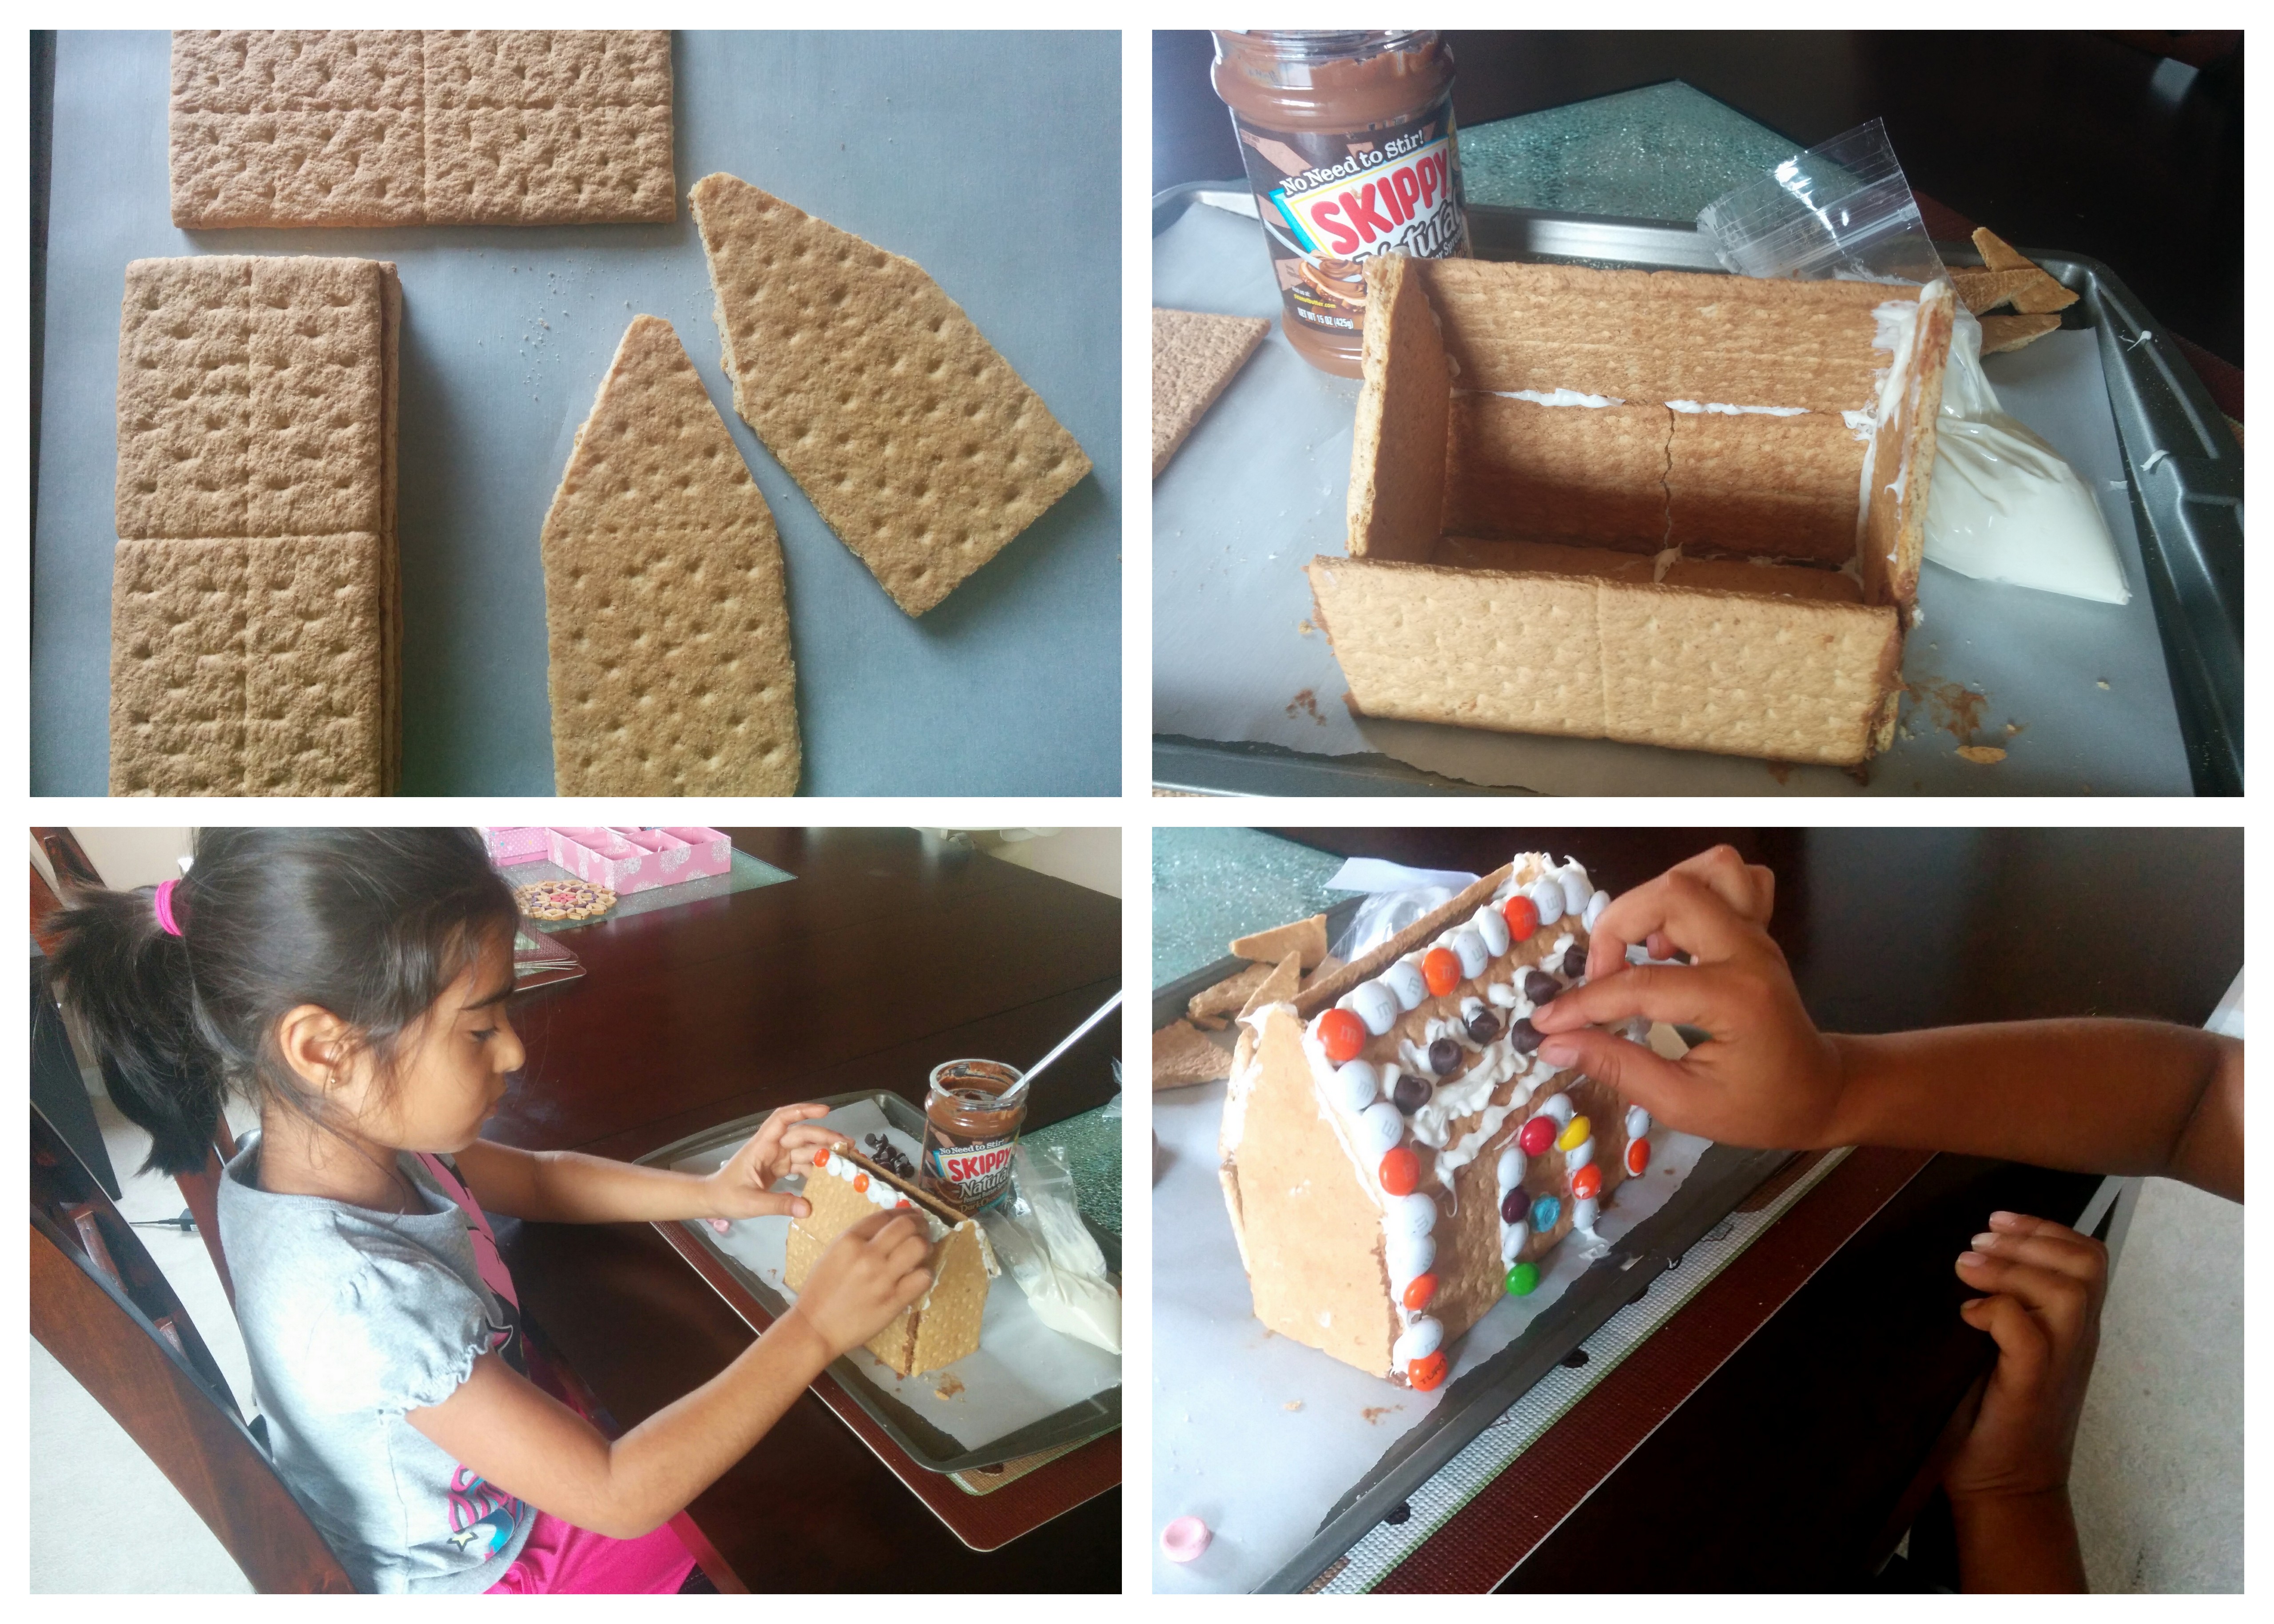
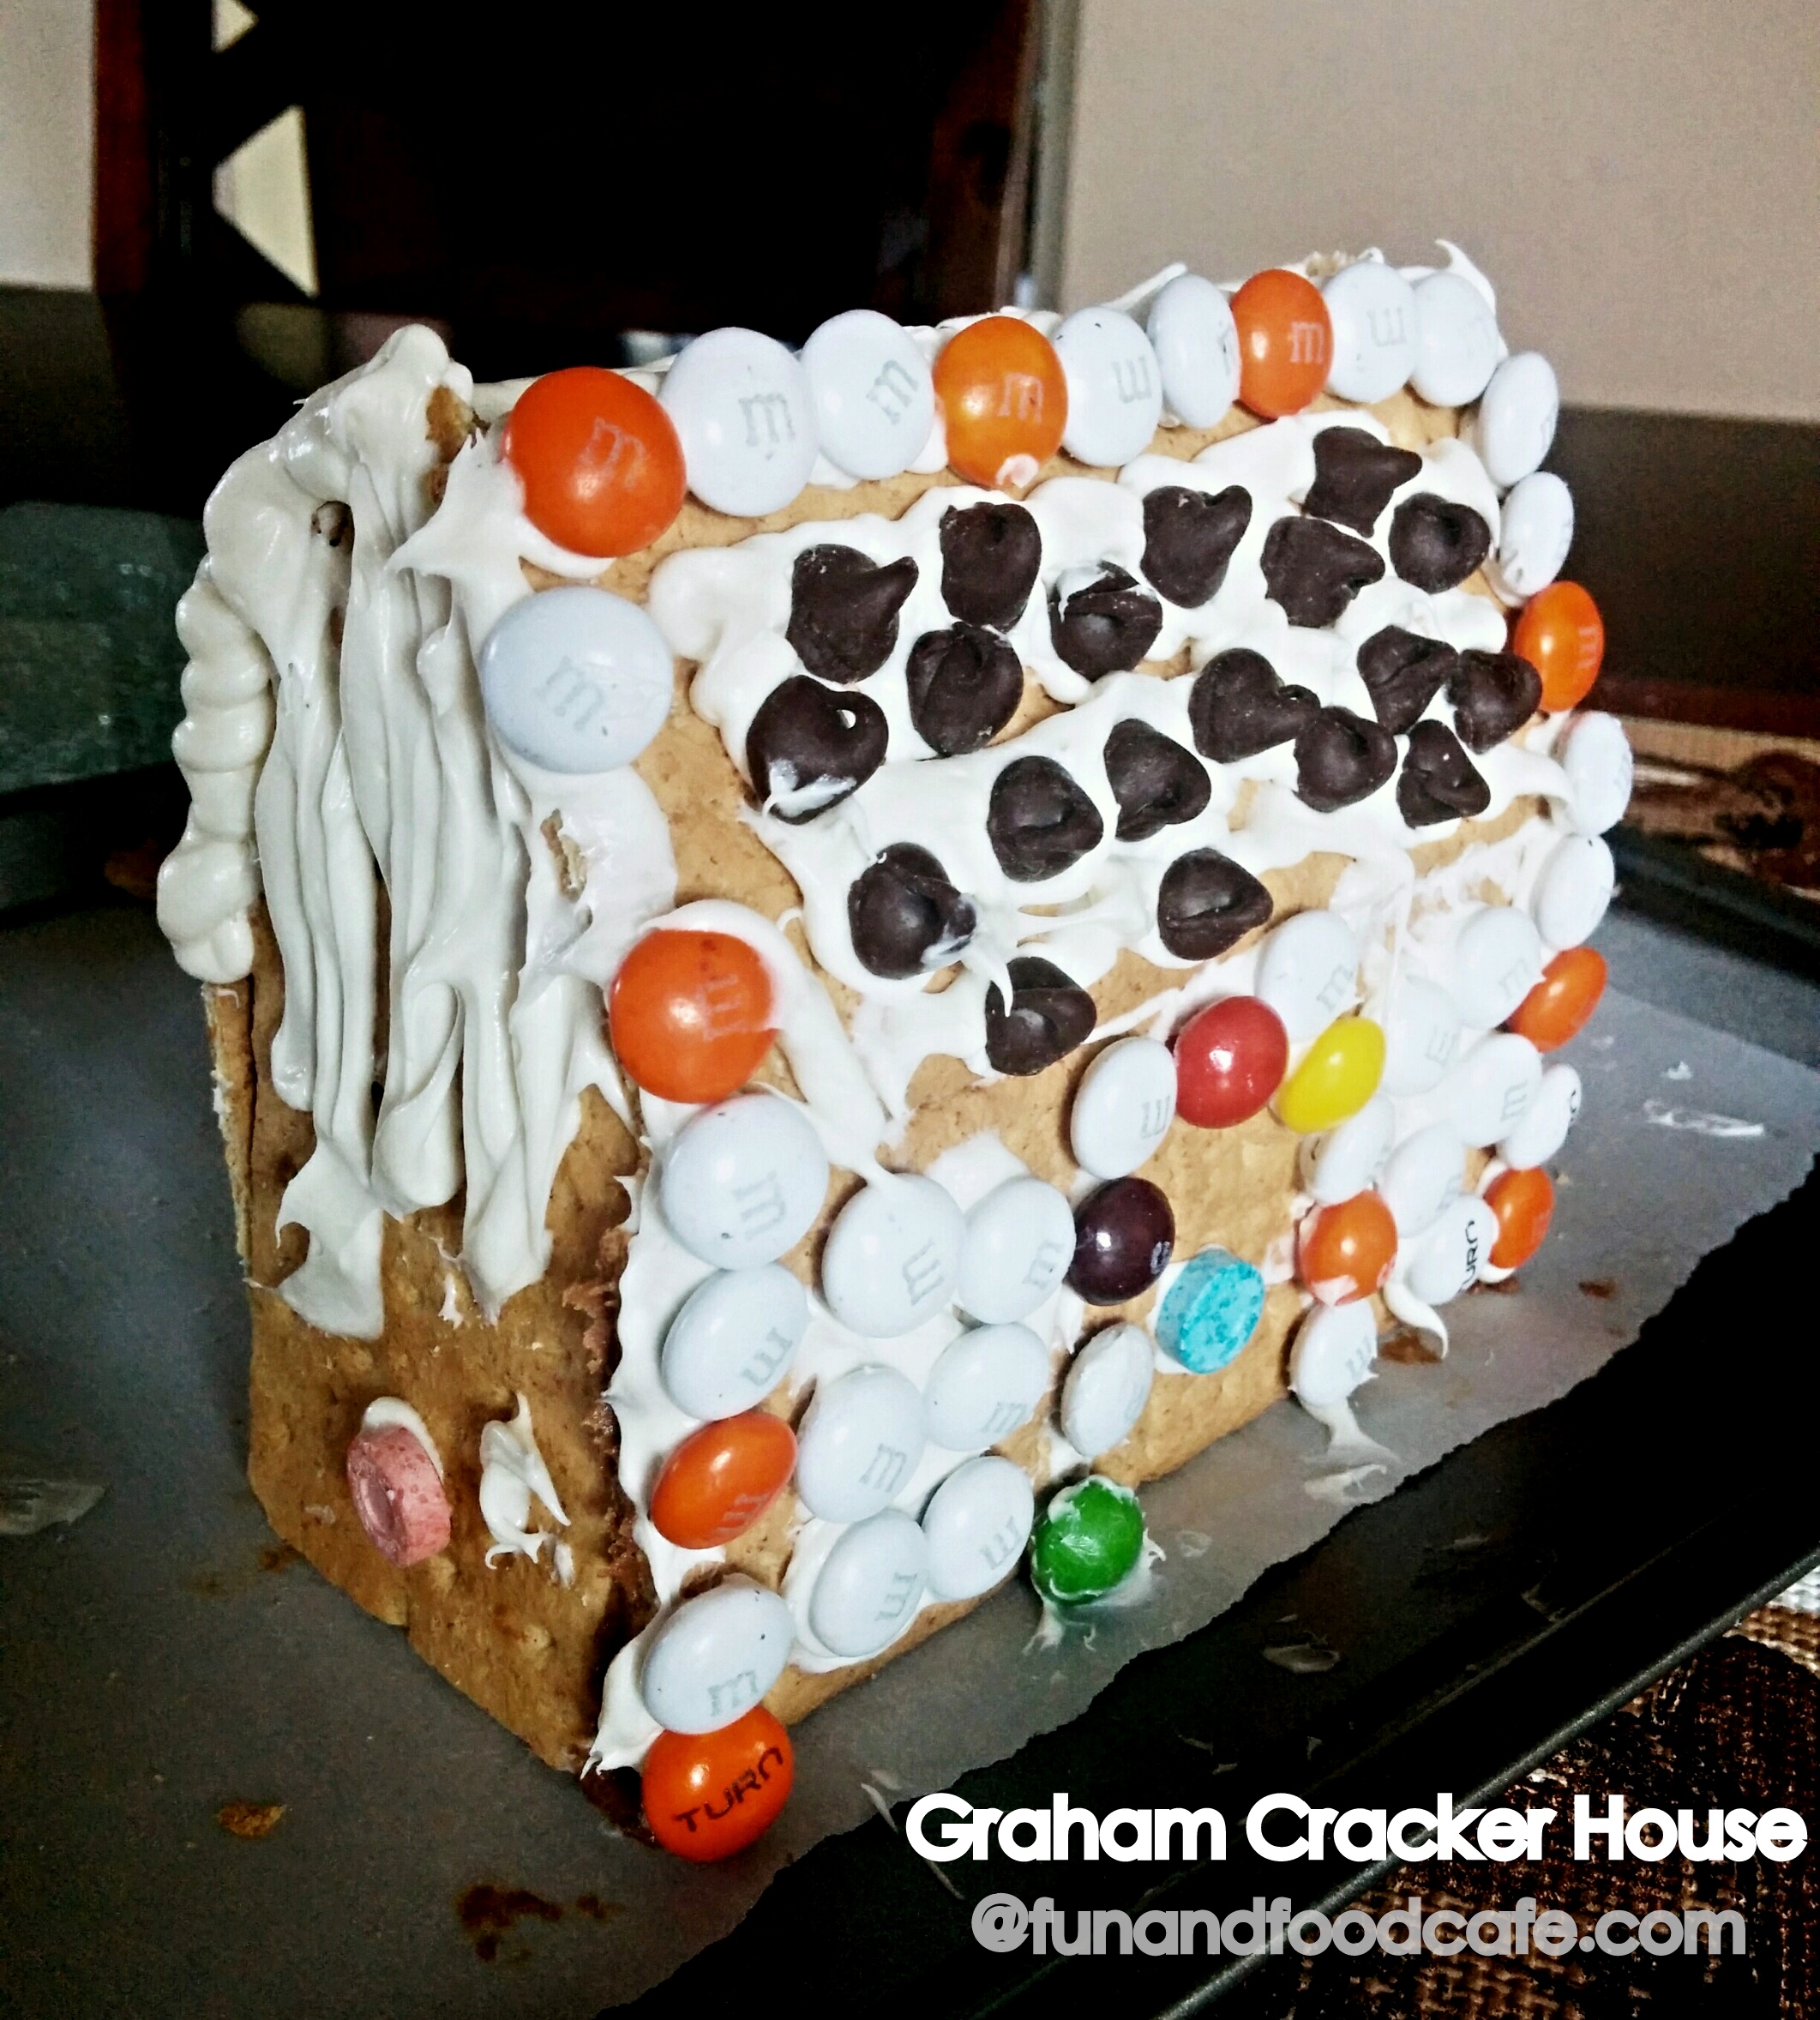
We used icing as well as peanut butter to assemble the houses; this way they stick better and taste better too:) Once the houses are assembled, its time to decorate!! This is the best part that the kids look forward to. Use whatever suits their fancy, but yes, it should be edible!!:) we used M&M’s, chocolate chips, and some hard candy.
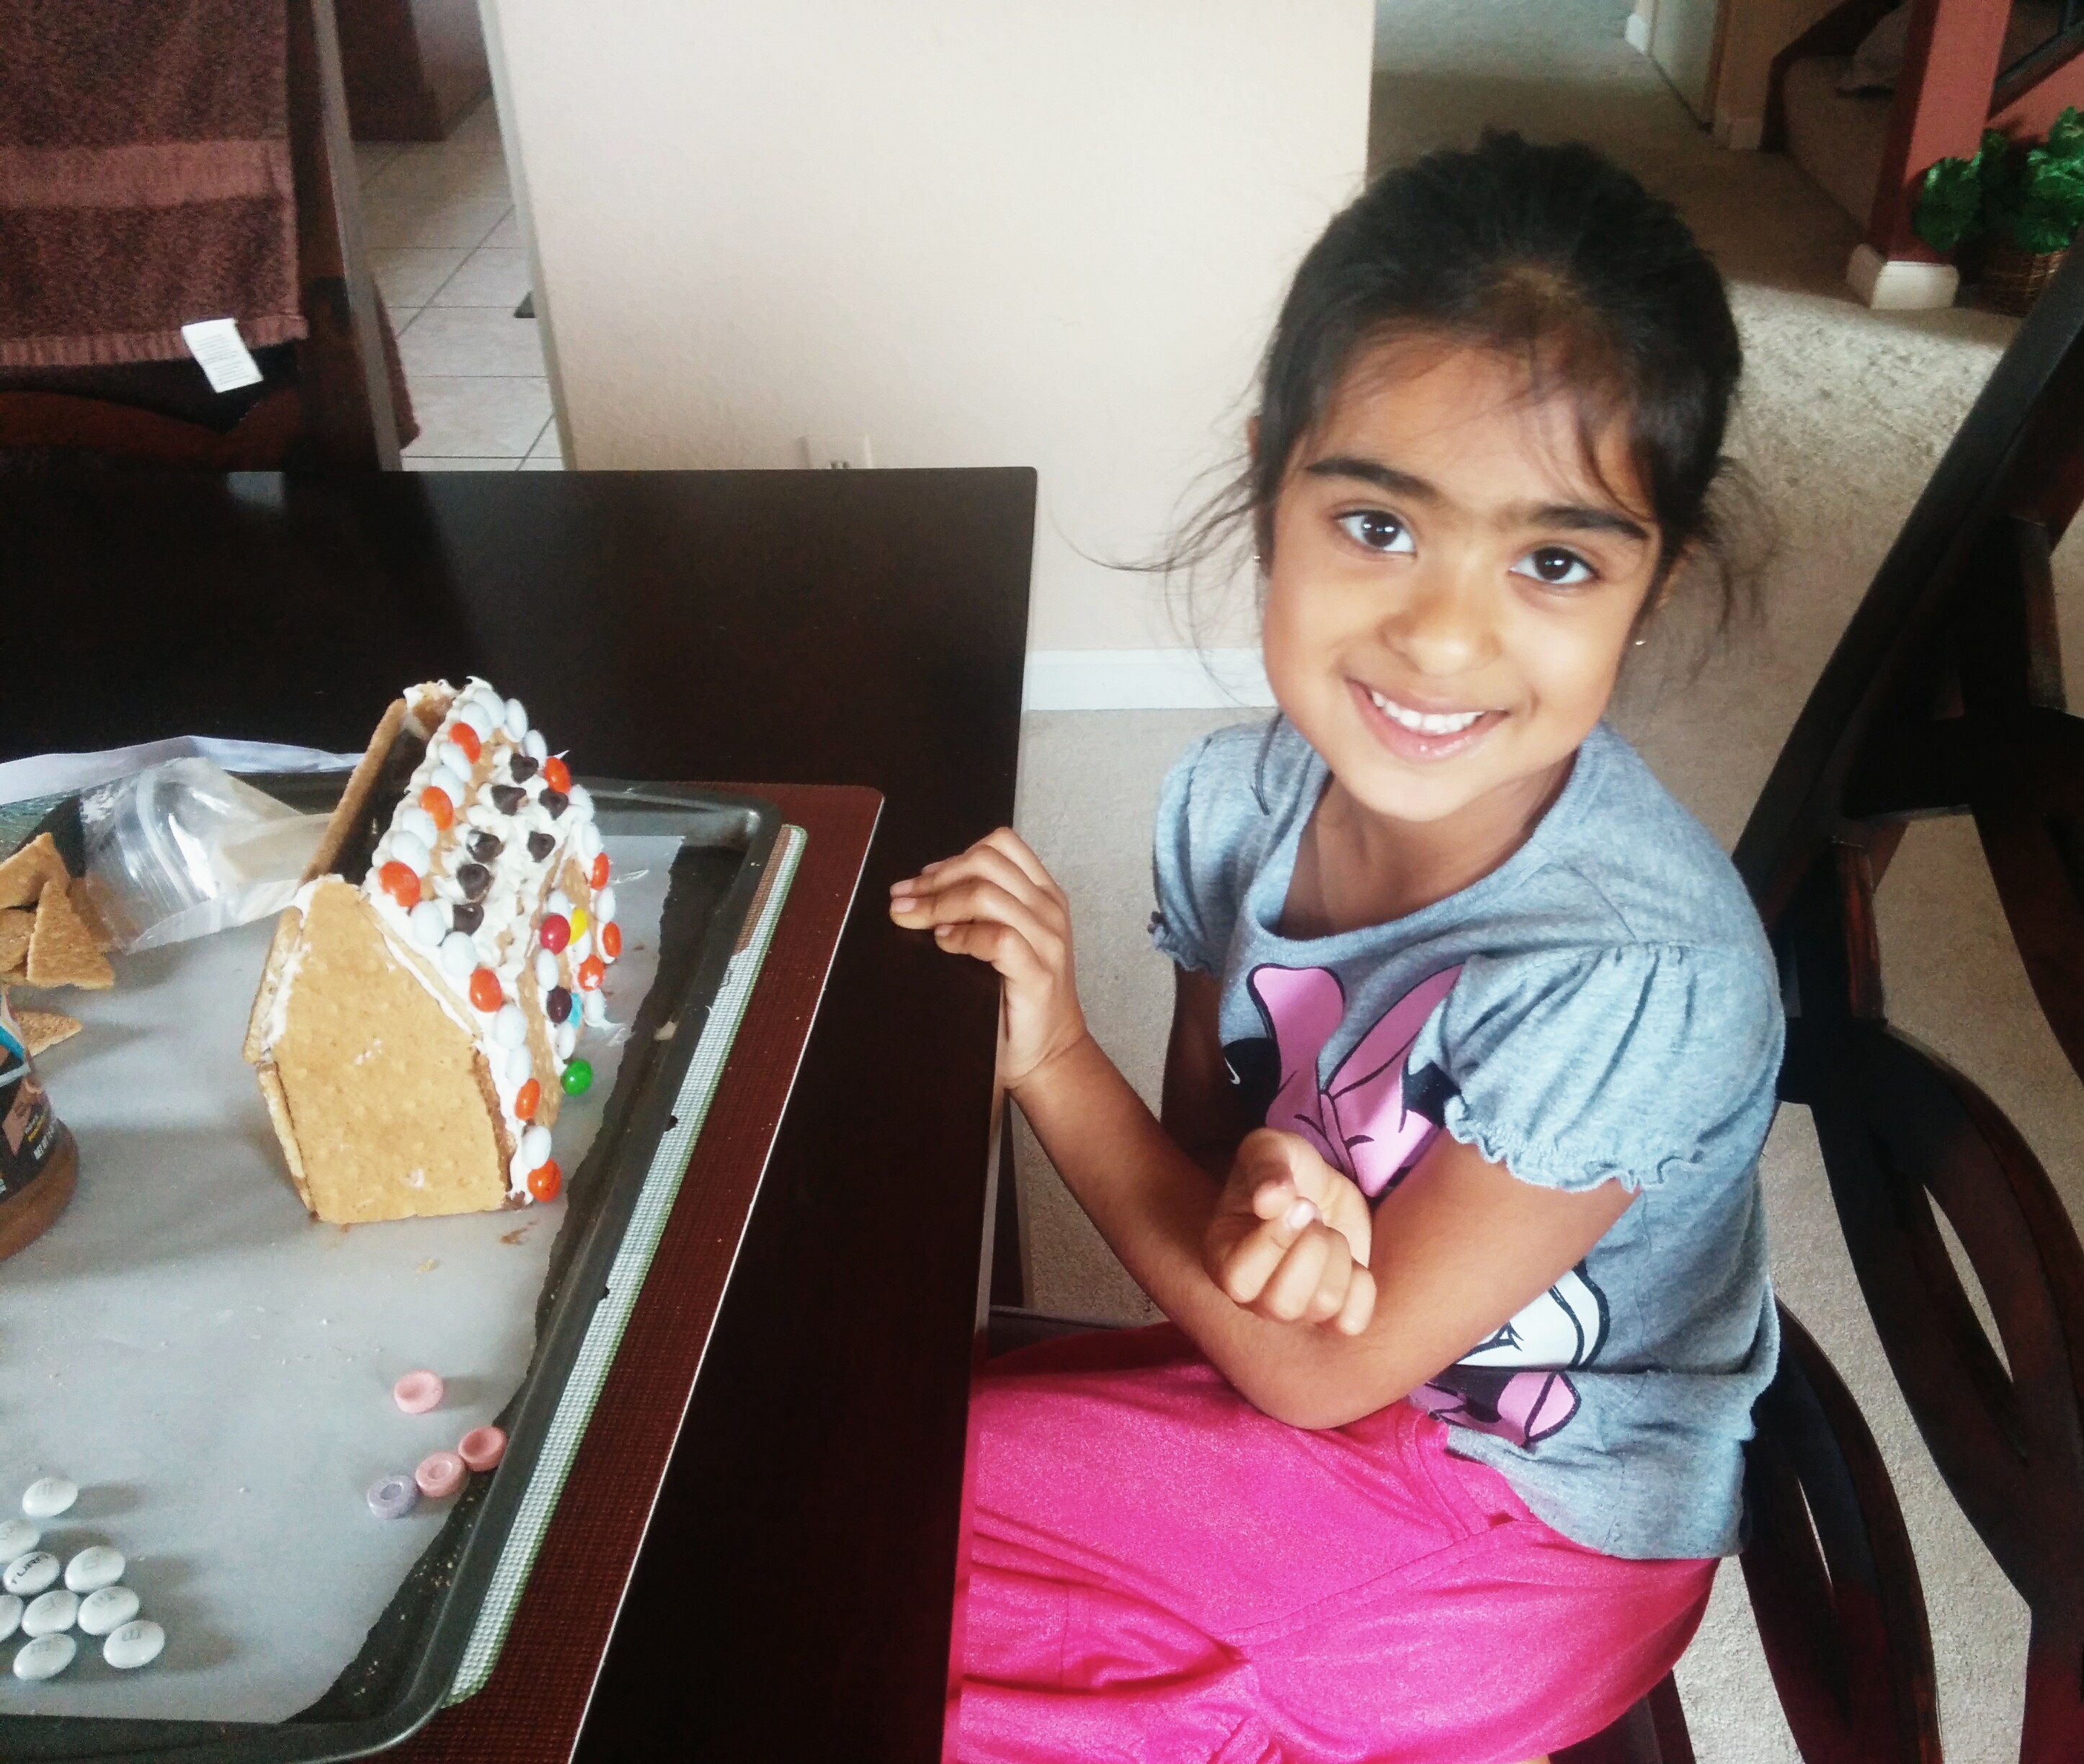
And here’s the final house. Doesn’t it look great with all that icicle-type frosting on the sides? And beware, there will be a lot of licking and messy eating along the way:)
It was a wonderful use of time to rekindle the holiday spirit. Thanks to Honeymaid and Skippy. If you’d like to do this too, here’s a coupon to save 50 cents off a Honeymaid package.
Do your kids love building Graham Cracker Houses? how do you celebrate the holiday season? what foodie gifts do you make?